Persistent beachball Very often, the pointer turns into a rotating beach ball while your…
Check Windows System Files
If you have encountered the error “Windows has detected file system corruption on OS” when you restore system, you can try to check system files by using Command Prompt to solve this system restore error.
Now, we will show how to check Windows system files by using Command Prompt step by step.
Step 1: Type Command Prompt in search box. Choose Command Prompt in the list and right-click it. Then choose Run as administrator from the context menu.
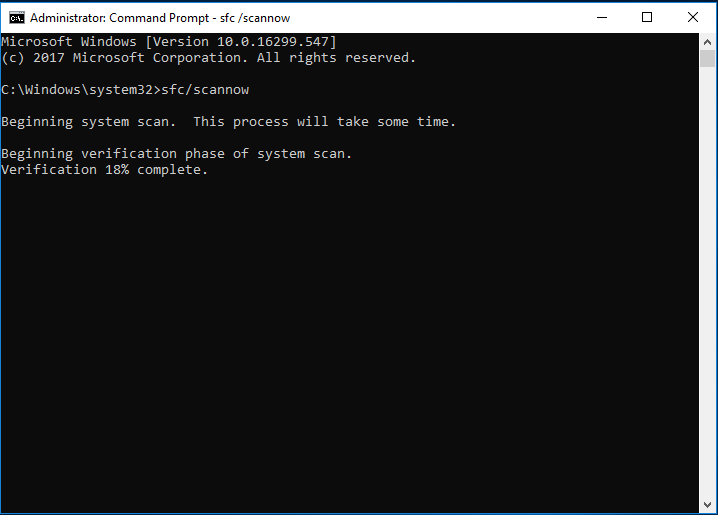
Step 2: Then type sfc/scannow command and you should wait patiently since this process will take much time.
Step 3: After checking, if you get the message “Windows Resource protection did not find any integrity violations” which means that there is no wrong on your system file, you can try to restart your computer, try to restore system again and check whether file system corruption on local disk C issue still occurs.
Check File System
File system error can also lead to the issue “Windows has detected file system corruption”, you can try to check file system to solve file system corruption on local disk C.
Next, we will introduce how to check file system step by step.
Step 1: Type Command Prompt in the search box of Windows 10 and choose it in the list. Then right-click it and choose Run as administrator.
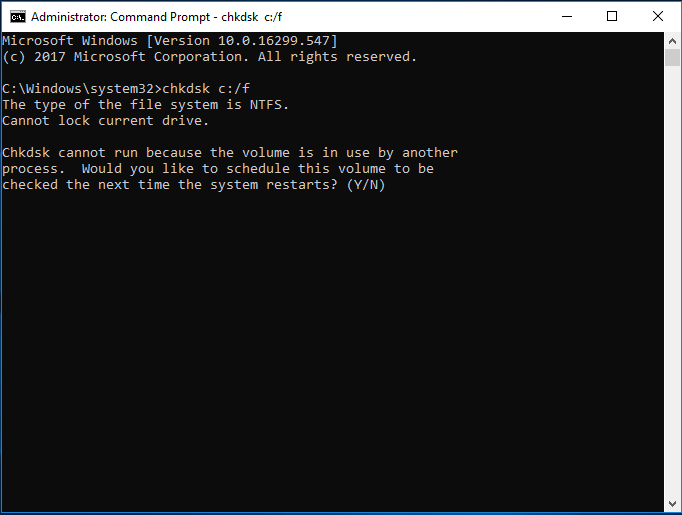
Step 2: Type chkdsk c: /f command and hit Enter to continue.
Step 3: You need to type Y to schedule this volume to be checked when you next restart your operating system because the volume is in use by another process.
After that, you can restart your computer to check whether the issue “Windows has detected the file system corruption” still occurs.
Reset the Computer
If above methods are not effective, you can try to reset your computer without losing personal files to solve the issue “Windows had detected the file system on OS.”
There is a feature of Windows 10 called Reset This PC which can help you to choose to keep your personal files or remove them and then reinstall Windows 10.
Now, the detailed operations are as follows.
Step 1: Right-click Start, choose Setting, then go to Update & Security.
Step 2: Next, choose Recovery in the left panel and click Get started under Reset this PC section.
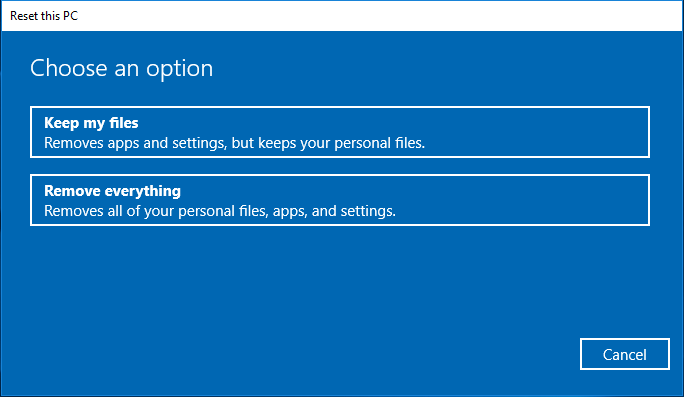
Step 3: In the next popup windows, you will see two options. If you want to reset your computer without losing data you can choose Keep my Files.
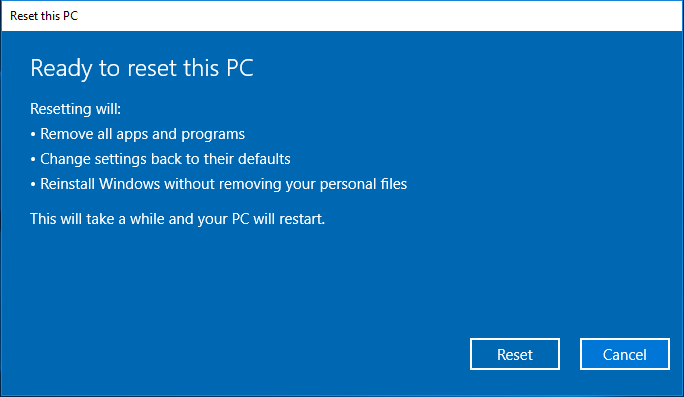
Step 4: After things get ready, you will see a popup window that reminds you that which programs will be removed. And you need to click Next to continue.
Step 5: In the next popup window, you need to click Reset to continue to reinstall your Windows 10 without losing personal files.
After resetting your computer, you can create a system restore point and try to check whether system restore error is solved.